Blog
Routine FDM 3D printer maintenance: weekly and monthly checklist
A few minutes of regular cleaning and checks keep your printer reliable, jam-free and long-lived.
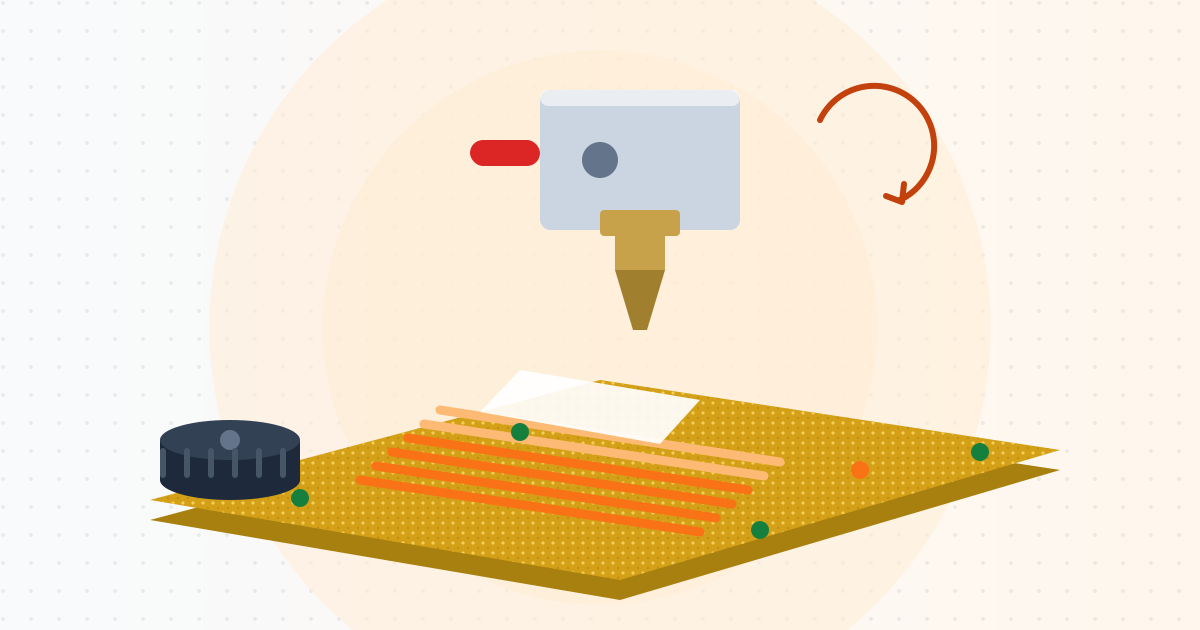
Most print problems customers bring to SHINDIY are not broken machines but missing maintenance: greasy beds, worn nozzles, slack belts, loose screws. FDM maintenance is simple — here is the checklist we use in our workshop.
Safety first
- Power off and unplug before disassembling anything, unless the task needs a hot nozzle (such as a nozzle swap).
- The nozzle and bed are very hot — the nozzle can exceed 200 °C. Use tools, not fingers, and wait until parts are below 50 °C before cleaning.
- Avoid strong solvents like acetone on PEI sheets or printer plastics unless the manufacturer allows it.
After every print / daily
- Wipe the bed with 90 %+ IPA and a lint-free cloth; finger oil is the number-one cause of poor first-layer adhesion. A magnetic PEI sheet can also be washed with dish soap and warm water, then dried fully.
- Remove plastic debris around the nozzle and bed.
- Store filament sealed with desiccant.
Weekly (or ~50 print hours)
- Nozzle: check for plastic build-up; heat it and brush gently with a soft brass brush.
- Extruder gear: brush out filament dust.
- X/Y belts: they should feel firm with a low twang, neither slack nor over-tight. Slack belts cause layer shifts and oval circles.
- Print a small test cube to catch drift early.
Monthly (or ~200 print hours)
- Tighten frame screws, roller wheels and the bed carriage; wheels should spin by hand without wobble.
- Clean and lubricate the Z lead screw and linear rails with a thin layer of suitable grease (lithium or PTFE-based) as the manufacturer recommends. Too much grease attracts dust.
- Fans: hotend and part-cooling fans must spin smoothly and quietly. A failing hotend fan is a classic cause of jams (heat creep).
- Wiring: check heated-bed and toolhead cables for cracks, looseness or scorch marks. If something gets unusually hot or smells burnt, stop and contact warranty support.
- Update firmware/slicer when the manufacturer releases a new version, after reading the changelog.
When to replace the nozzle
Brass nozzles are consumables. Replace when extrusion stays thin or uneven after cleaning, when the orifice is worn (a few hundred hours, much faster with carbon-fibre or glow-in-the-dark filaments — use hardened steel for those), or when it is jammed beyond clearing.
Basic swap: heat to about 200–230 °C, hold the heater block with one wrench and unscrew the nozzle with another. Fit the new one and tighten it while hot as your printer's manual describes, without stripping the threads. Re-level and re-check Z-offset afterwards. The set of 10 brass 0.4mm M6 nozzles keeps spares on hand — confirm your printer uses M6 threads first.
Keep a log
Note nozzle swaps, lubrication, print hours and issues. After a few months you will know exactly what your machine needs.
SHINDIY support
3D printers bought from SHINDIY include a 12-month warranty for manufacturer defects and 1:1 technical support via Zalo during business hours. Send us a short video of the problem while printing — it usually takes minutes to diagnose.