Guide
Your first print on the LayerOne F1 FDM 3D printer
From unboxing to removing your first part: assembly, loading filament, slicing and watching the first layer.
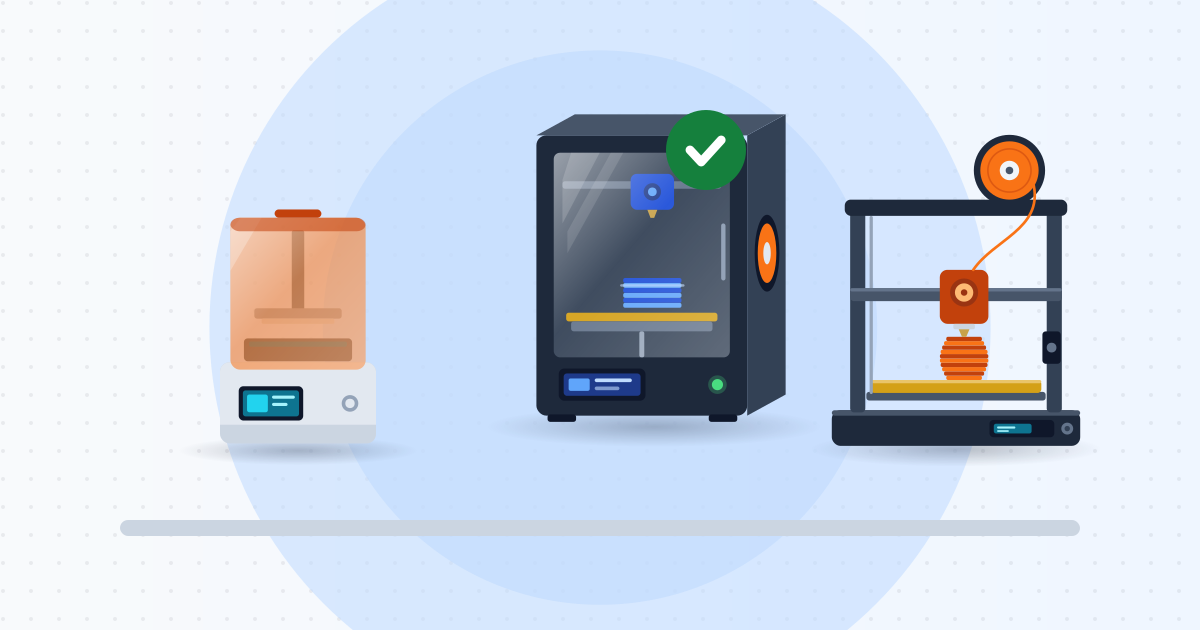
Just received your LayerOne F1 FDM printer? This guide walks you from unboxing to taking your first part off the bed. Plan for 1–2 hours, not counting print time.
What you need
- A sturdy, flat table at least 10 cm from the wall so the fans can breathe.
- A grounded outlet. If the PSU has a voltage switch, make sure it is set to 220V.
- A spool of 1.75 mm PLA (for example MakerLab PLA 1.75mm 1kg) – PLA is the easiest material to start with.
- A free slicer such as Cura, PrusaSlicer or OrcaSlicer.
Step 1: Assemble and check the mechanics
- Mount the Z gantry on the base and tighten the bolts in a cross pattern so the frame stays square.
- Connect every motor, endstop and leveling-sensor cable; each plug is labeled.
- Move the print head and bed by hand: motion should be smooth with no binding or wobble. Adjust the eccentric nuts until wheels have no play but still turn by hand.
- Belts should feel taut, like a low guitar string.
Step 2: Power on and level
- Switch on and run Home.
- Preheat the bed to about 60°C and the nozzle to about 150°C – metal expands when hot.
- Run Auto Leveling so the probe can map the bed.
- Set the Z-offset with the paper test: lower Z until a sheet of A4 paper drags slightly under the nozzle. See our bed-leveling guide for details.
Step 3: Load filament
- Heat the nozzle to 200°C.
- Cut the filament tip at 45°.
- Squeeze the extruder lever and push the filament through until it reaches the nozzle.
- Extrude 50–100 mm until clean plastic flows.
Safety: the nozzle can reach 260°C and the bed 100°C. Never touch them while hot and do not let children run the printer unattended.
Step 4: Slice a test model
- Use a simple model such as a 20 mm calibration cube.
- Choose a profile with a 220 × 220 × 250 mm build volume, 0.4 mm nozzle, 1.75 mm filament (or our slicer profile pack in Downloads).
- Basic PLA settings: nozzle 200–210°C, bed 55–60°C, 0.2 mm layers, first-layer speed 20–25 mm/s, 15–20% infill, skirt on.
- Slice, check the time and filament estimate, and save the G-code to the card.
Step 5: Print and watch the first layer
Stay with the printer for the first 5–10 minutes. Slightly squished lines that fuse together are good. Round lines that peel off mean the nozzle is too high – lower Z-offset by 0.02–0.05 mm. Thin, transparent lines or a scraped surface mean it is too low. Many printers let you babystep Z during the print.
Step 6: Remove the part
Wait until the bed is below 30°C, take off the magnetic sheet and flex it – the part pops off. Wipe the bed with isopropyl alcohol before the next print.
Common problems
- No adhesion: clean the bed, recheck Z-offset, raise bed temperature by 5°C.
- Stringing: lower the nozzle by 5°C and enable retraction.
- No extrusion: check for a tangled spool or a clogged nozzle – swap in a new one.
Stuck? Message the SHINDIY tech team on Zalo during working hours (8:30–17:30, Mon–Sat) with a photo of your first layer.