Guide
Soldering basics for beginners
Tools you need, iron temperatures, through-hole technique and the safety rules that matter.
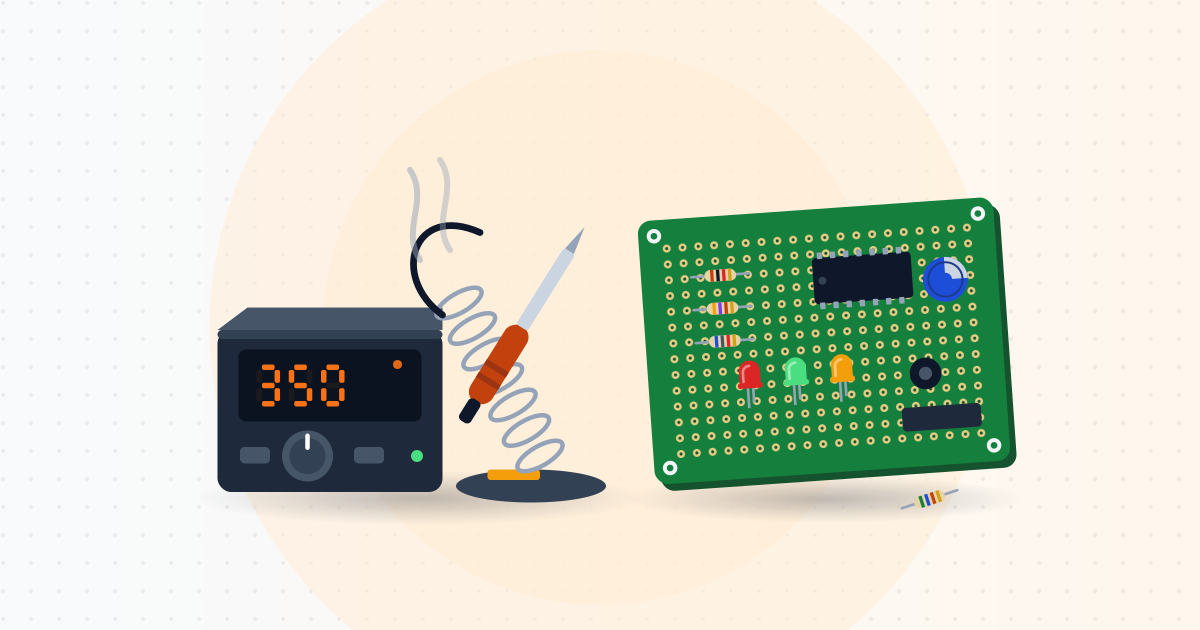
Soldering is a core electronics skill: headers on boards, motor wires, repairs. This guide covers through-hole soldering, the easiest kind for beginners.
Safety first
- The iron runs at 300–450°C. Always return it to its stand and keep the cord out of its path.
- Flux fumes irritate your airways. Work in a ventilated area, use a fume extractor or open a window, and keep your face out of the plume.
- Wear safety glasses – solder, flux and clipped leads can fly.
- Wash your hands afterwards, especially with leaded solder. No food or drink at the bench.
- Unplug the circuit before soldering. Never solder directly on lithium cells.
- Unplug the iron when you leave the bench.
Tools
A temperature-controlled iron (e.g. VoltBit 60W 200–450°C), 0.6–0.8 mm rosin-core solder, a damp sponge or brass wool, flush cutters, a desoldering pump or wick, and a multimeter for continuity checks.
Temperature
| Solder | Suggested tip temperature |
|---|---|
| Leaded (Sn63/Pb37, Sn60/Pb40) | 300–340°C |
| Lead-free (SAC305) | 340–380°C |
Leaded solder melts around 183°C and flows easily but contains lead; lead-free is healthier but needs more heat. Start at 330–350°C. Too hot burns flux, wears the tip and can lift copper pads.
Step 1: Tin the tip
Heat up, wipe the tip, and melt a little solder onto it so it shines. A tinned tip transfers heat far better.
Step 2: Place the part
Insert the component and bend the leads slightly so it stays put. For multi-pin headers, solder one pin, check alignment, then do the rest.
Step 3: Make a joint
- Touch the tip to both the pad and the lead for 1–2 seconds.
- Feed solder into the joint opposite the tip, not onto the tip.
- When it flows around the lead, remove the solder first, then the iron.
- 2–4 seconds total; do not move the board while it cools.
Step 4: Inspect
- Good: small shiny cone (lead-free is slightly duller) wetting both lead and pad.
- Cold joint: grainy, dull, ball-shaped – reheat and add a little solder.
- Bridge: solder joining neighbours – use wick or drag a clean tip between them.
- Starved: pad not covered – add solder.
Step 5: Trim and test
Clip leads about 1 mm above the joint (glasses on, hold the lead). Use the multimeter's continuity mode to check for shorts, especially between power and GND. Clean flux with isopropyl alcohol if needed.
Tip care
Leave a layer of solder on the tip before switching off, never sand the tip, and turn the iron down when idle for more than 10 minutes.
Note: under SHINDIY's policy, soldered components and boards are not eligible for the 7-day exchange. Test boards before soldering and practise on perfboard first.