Guide
Flashing an ESP32 with the Arduino IDE, step by step
Install the Arduino IDE, add the ESP32 board package, install the CP2102/CH340 driver and upload your first blink sketch.
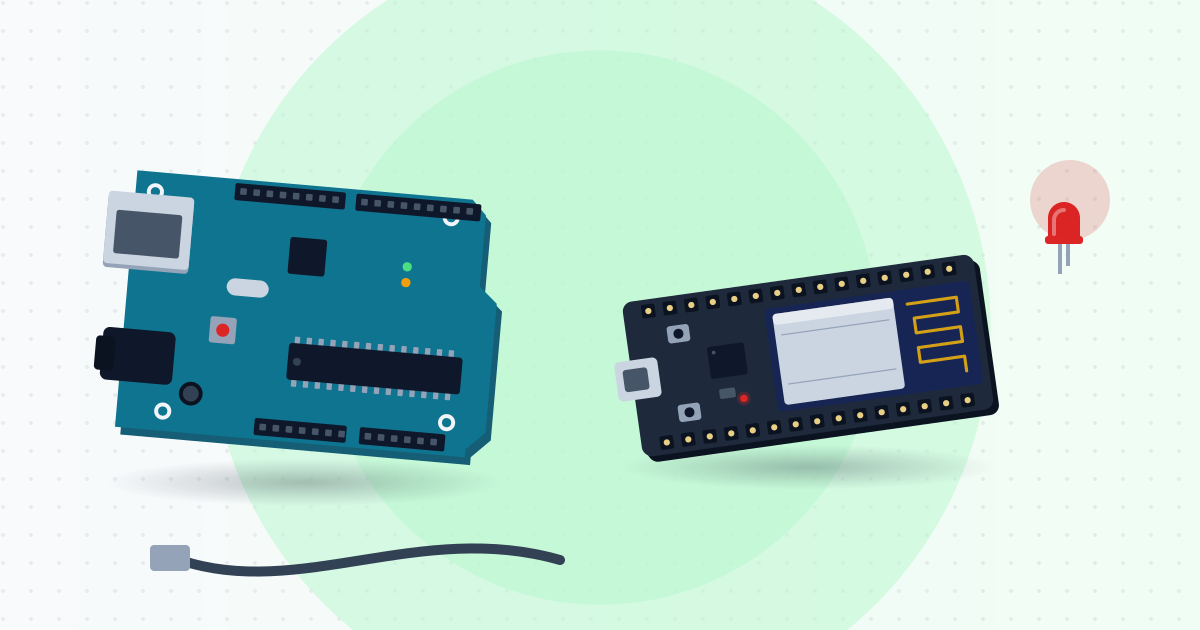
The ESP32 is a hugely popular microcontroller thanks to built-in Wi-Fi, Bluetooth, two cores and a low price. This guide uploads your first program to the ESP32-WROOM-32 DevKit board with the Arduino IDE on Windows (macOS and Linux are similar).
What you need
- ESP32-WROOM-32 DevKit board.
- A USB-C cable that carries data – charge-only cables are the most common cause of trouble.
- A computer with Internet access.
Step 1: Install the Arduino IDE
Download Arduino IDE 2.x from the official arduino.cc Software page and install it. Let it finish downloading its components on first launch.
Step 2: Install the USB–UART driver
Our DevKit uses a CP2102 chip; some other boards use CH340. Plug the board in and open Device Manager. If Ports (COM & LPT) shows "Silicon Labs CP210x ... (COM5)", you are set. If you see an unknown device with a yellow mark, install the CP210x driver from Silicon Labs (or the CH340 driver from WCH), then replug. Note the COM number.
Step 3: Add the ESP32 board package
- File → Preferences, and in Additional boards manager URLs paste:
https://espressif.github.io/arduino-esp32/package_esp32_index.json
- Tools → Board → Boards Manager, search "esp32", install esp32 by Espressif Systems.
Step 4: Select board and port
Tools → Board → esp32 → ESP32 Dev Module, then Tools → Port → your COM port. Keep the defaults; if uploads fail, lower Upload Speed to 115200.
Step 5: Blink sketch
Most DevKit boards have an LED on GPIO 2:
const int LED_PIN = 2;

void setup() {
  Serial.begin(115200);
  pinMode(LED_PIN, OUTPUT);
}

void loop() {
  digitalWrite(LED_PIN, HIGH);
  Serial.println("LED on");
  delay(500);
  digitalWrite(LED_PIN, LOW);
  Serial.println("LED off");
  delay(500);
}
Step 6: Upload
- Click Upload.
- If the output hangs at "Connecting........", hold the BOOT button until the write percentage appears, then release.
- After "Hard resetting via RTS pin..." the program is running; press EN if the LED does not blink.
- Open Tools → Serial Monitor at 115200 baud.
Troubleshooting
- No COM port: try another (data) cable or USB port, reinstall the driver.
- "Failed to connect to ESP32: Timed out waiting for packet header": hold BOOT while connecting; lower the upload speed.
- "Port is busy": close Serial Monitor or other apps using the port.
- Constant resets (brownout): use a rear USB port or a powered hub.
Voltage warning
The ESP32 runs at 3.3V and its GPIOs are not 5V tolerant. With 5V sensors such as the HC-SR04 (its Echo pin outputs 5V), use a resistor divider or level shifter. Returns do not cover boards damaged by wrong wiring.
Next, try File → Examples → WiFi → WiFiScan. If you have the ESP32 Starter kit, the 20-lesson sample pack in Downloads takes you from buttons to web-controlled devices.